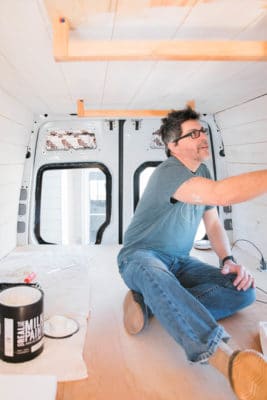
 If you’re really into road-tripping, having a camper or van saves you lots of money on hotels and lets you enjoy the comforts of home while traveling cross-country. New motorhomes typically have high price points, however, making used options in good enough shape to renovate to your uses or your best bet for affordable accommodations. The downside is that getting those used finds road-ready and livable sometimes takes a lot of elbow grease and trial and error.
Fortunately, the Real Milk Paint Co. can help on your quest to explore that Great American landscape with advice for painting camper interior and giving your RV van, travel trailer, or fifth wheel a makeover.
Prepping Your Camper or Van
Since camper and RV interiors are such small spaces, ventilation often proves problematic when you’re doing prep work for painting RV walls. Before you start, open all the windows and doors to let the space air out, and wear protective gear like respirators if you’re so inclined before you paint RV walls.
Also, cleaners may cause skin and eye damage, so you also need to wear high-quality rubber gloves and protective clothing while painting camper interior.
Cleaning Interior Camper Surfaces
The first step for prep work is cleaning all the walls and surfaces. Remove prior wall paper or wood veneer and clean up dirt and messes with our Tri-Sodium Phosphate solution product helps with that.
Simply dilute 2 tablespoons into a gallon of warm water for a high-powered cleanser that cuts easily through years of grease and grime. This product works on almost any surface with the exception of glass, but you may want to test it to be sure before you begin. Be sure to wait until all the surfaces and interior walls dry before continuing your DIY project.
Covering Areas You Aren’t Painting
Once you’ve finished cleaning all the surfaces, use painter’s tape and drop cloths to cover areas you don’t wish to paint. Some areas you may want to cover include synthetic countertops, linoleum flooring, and metal steps and hardware. Keep in mind that though the taping process may seem like a lot of work, it can actually save you lots of time, especially if you plan on using a sprayer to paint the van or RV walls during your RV remodel.
Sanding Surfaces for RV Makeovers
Now that everything is clean and covered, it’s time for sanding. For this task, lightly sand the surfaces before you paint walls. Use sandpaper in various grits to do it by hand or a power sander if you want to make short work of the process.
Sanding removes the gloss from surfaces to achieve better adhesion, especially on tricky materials such as laminated RV cabinets. When you finish, be sure to wipe up all the dust to improve the results from priming and painting.
Making Minor Repairs Before Priming
Now that you can see what you have to work with, evaluate whether minor repairs are necessary before continuing. Small cracks and holes brought by wood screws or staplers can be fixed by a wood filler. Even out gouged areas in wood by using our Real Wood Filler.
Use our Oxalic Bleach to remove any iron stains found on the fifth wheel or RV interior surfaces. Additionally, if your van, camper, or travel trailer has undergone previous RV renovation attempts, use our soy gel concrete paint remover to take off any leftover paint as needed.
Priming Van and Camper Interiors for Painting
Priming simply provides a neutral surface for your paint, and if everything is taped up correctly, you can perform this task with a sprayer. We recommend using a water-based primer or Ultra Bond if painting over unknown or non-porous surfaces to make sure paint would adhere properly.
Any good gripper primer or bonding primer should get the job done, but if you want to save a step, keep in mind that Real Milk Paint offers excellent coverage without the need for priming when working over porous surfaces like raw plywood. You can also use our Soft White paint in place of a primer if you want to start off with a flat matte surface or ensure even coverage on potentially problematic surfaces such as paneling.
Picking the Right Kind of Paint
As mentioned above, Real Milk Paint eliminates the need for priming when on porous surfaces, but it also confers other advantages when you’re painting the inside of a van, RV walls, and camper interiors than others such as latex paint or oil-based paint.
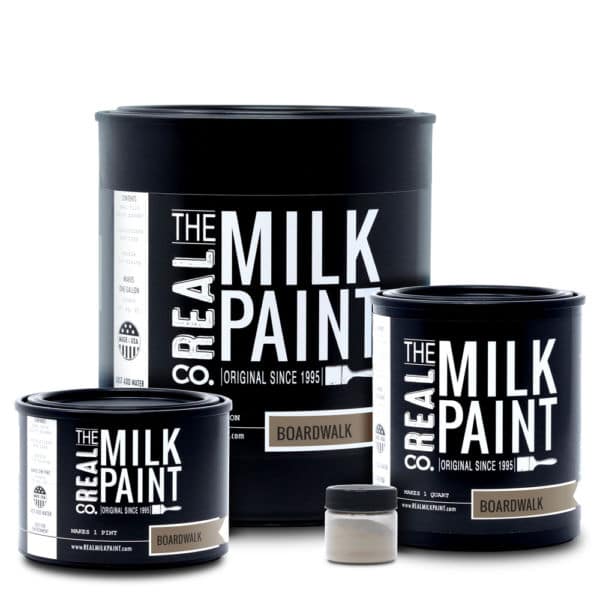
First, our vast range of paint colors helps you find hues that suit your creative vision, and secondly, the powdered formulations let you mix as much or as little as you need of each shade. Additionally, Real Milk Paint lasts for up to 2 weeks when mixed, providing ample time to complete the job. No volatile organic compounds (VOCs) in the all-natural formulation makes our paints pleasant to use, especially in small spaces without adequate ventilation.
Painting a Van or Camper Interior
Now that you’ve completed all the hard prep work, it’s time to start painting the inside of a van or your RV interior walls and RV cabinets if there’s any. The first step in this paint job process is gathering the supplies you need for the task at hand. For this DIY project, you need the following:
- Real Milk Paint
- Paint additives
- Paint brushes
- Paint sprayer
- Fine grit sandpaper
- Finishing oils
- Cotton rags
Mixing Your Camper, Van or RV Interior Paint
 If you’re using chalk paints or semi-gloss latex paints by brands like Glidden, Behr or Sherwin-Williams, you don’t have to mix at all. You simply have to shake up your paint can, open the lid, stir the mixture a bit and start painting. However, these paints typically have strong odors that can overwhelm you in small areas like RVs. For this reason and others, we recommend Real Milk Paint.
To mix our powdered formulations, measure out one part Real Milk Paint and one part water, stir up the mixture using a paint brush, then wait for the foam to subside. If you want to get started right away, though, you can add our Anti-Foaming Agent to the mix. Additionally, if you’re working with tricky surfaces like laminate, consider adding our Paint Adhesion Promoter to the mix as well.
Covering Interior Walls with Real Milk Paint
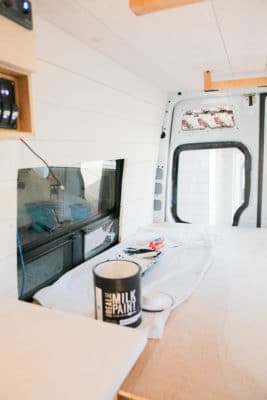
To get the job done quickly, use a paint sprayer to cover the interior walls of your RV, camper, or motorhome with Real Milk Paint. You may need to experiment with consistency by adding more water to the mixture, but you don’t want to get the paint too thin or it may drip.
Once you cover all the surfaces, use small paint brushes like our chip brushes to cover all the cracks and crevices the paint sprayer missed. Let the first coat dry, then repeat the process for your second coat.
Adding Decorative Elements to RV Interiors
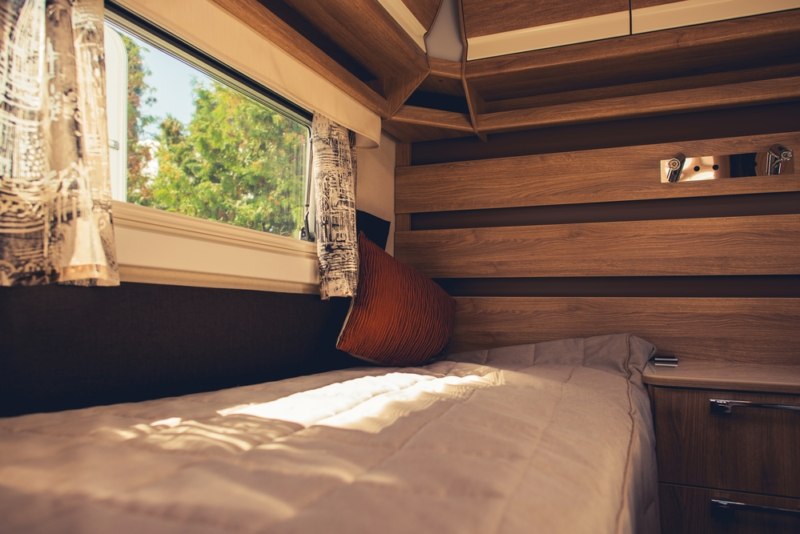
Once you’ve completed the paint job, you may want to add decorative elements such as RV cabinets to make your camper or RV interior feel more like home. Products like our Chippy Paste make it simple to create controlled chipping if you want to have a distressed or eggshell finish on surfaces like cabinet doors, while our finishing glazes let you incorporate an aged feel if you want to capture a retro feel when you’re updating an interior camper or van by painting the walls.
Sealing Your Van, RV, or Camper Paint Job
Though not strictly necessary, a good sealer helps protect your paint job and preserve your hard work. Our finishing oils like Pure Tung Oil go on easily over Real Milk Paint that is over bare wood, enhancing the look of porous surfaces covered in your choice of paint colors.
To apply these finishing oils, simply rub them on with a clean, dry cotton rag or a paintbrush, wait a bit, then wipe away the excess. Two to three coats are typically all that’s required to get the job done. If you’re looking for a smoother surface and are working over previously finished surfaces, then our Finishing Creams or waxes provide a great way to seal the milk paint.
While giving your fifth wheel, van, RV, or camper a modern makeover may take lots of work, the results are worth it. Using the right type of paint like Real Milk Paint in your RV interior helps immensely and makes your road-tripping motorhome ready for use almost immediately due to its low-odor formulation and quick drying times.


