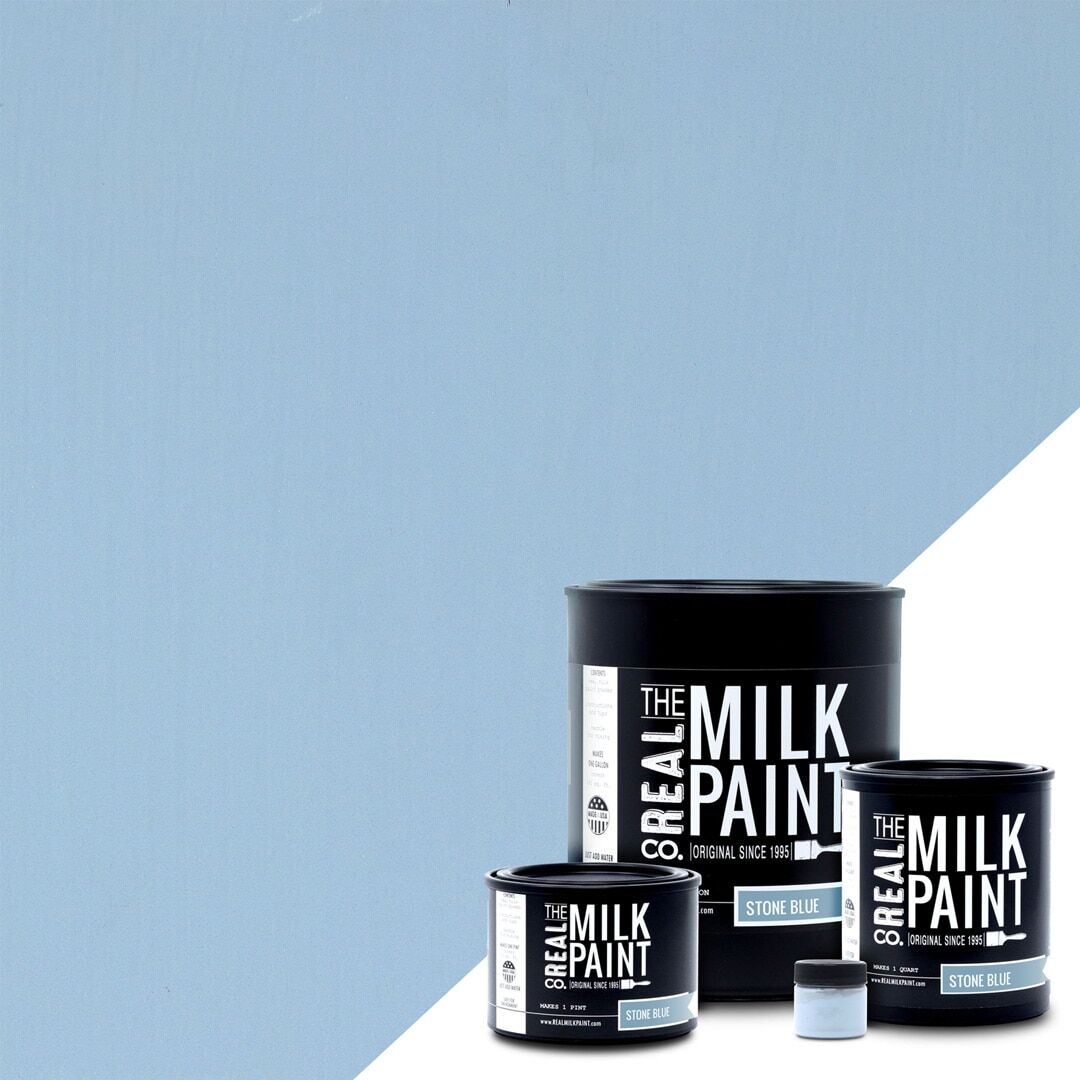
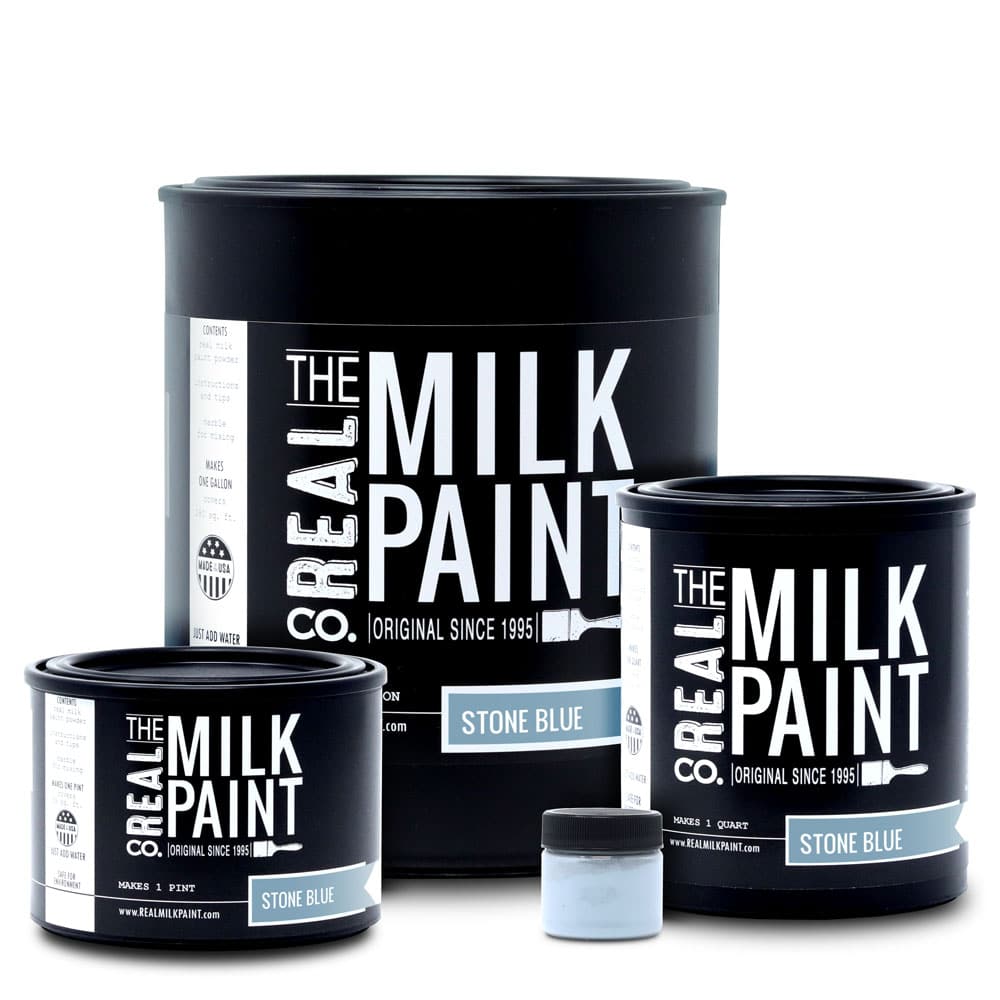
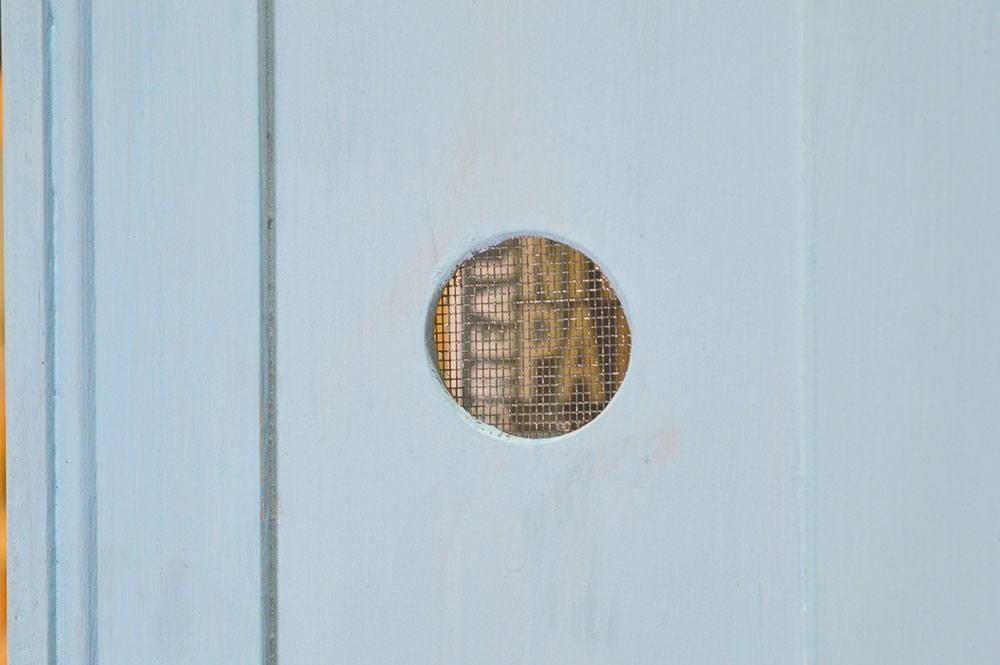
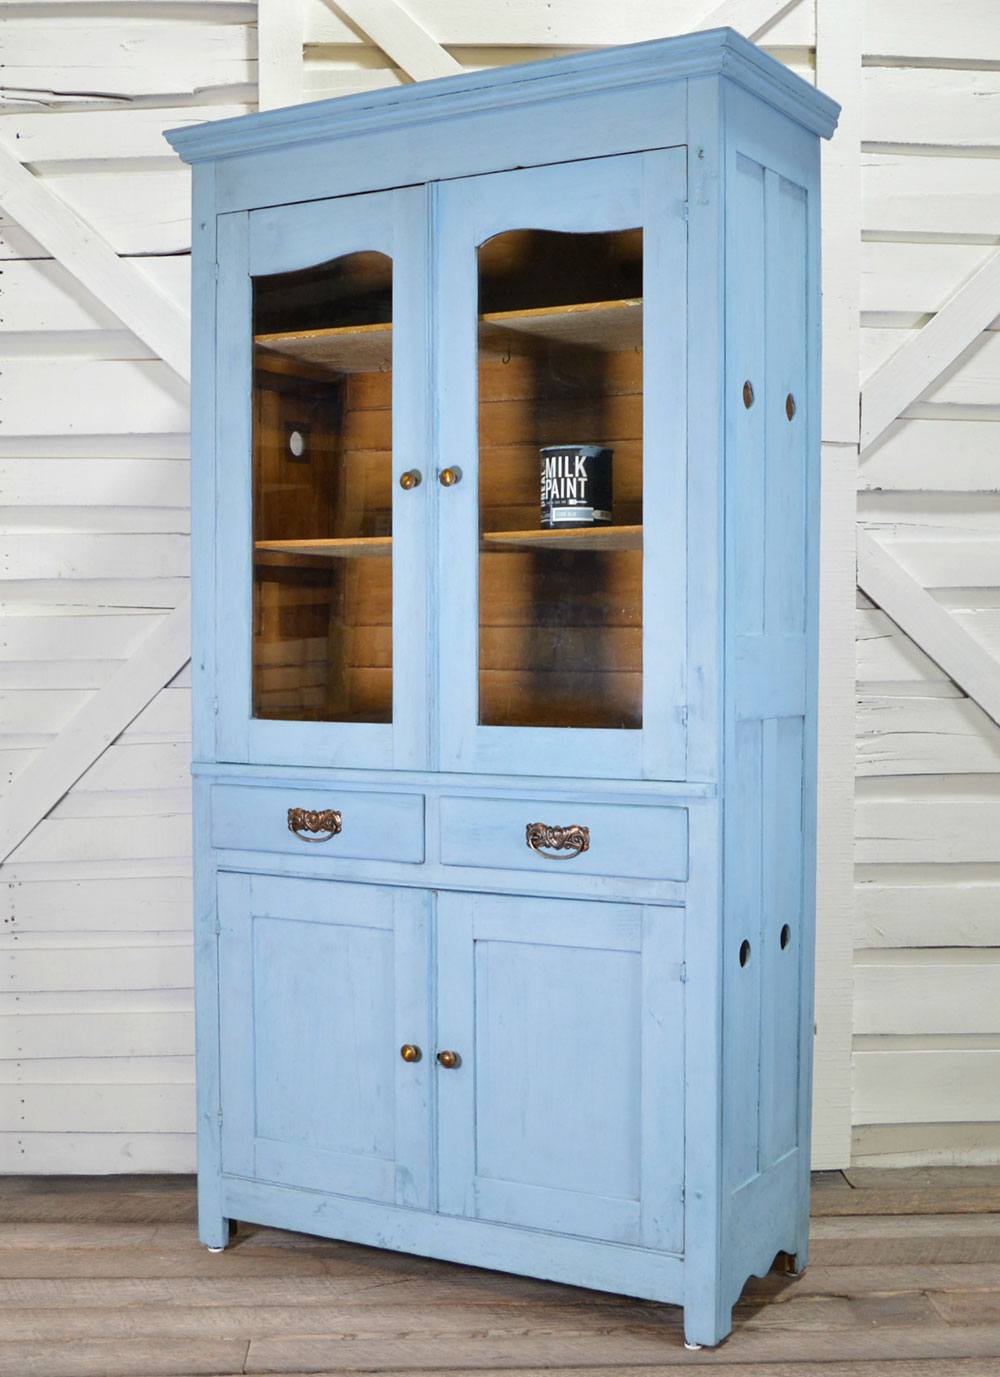
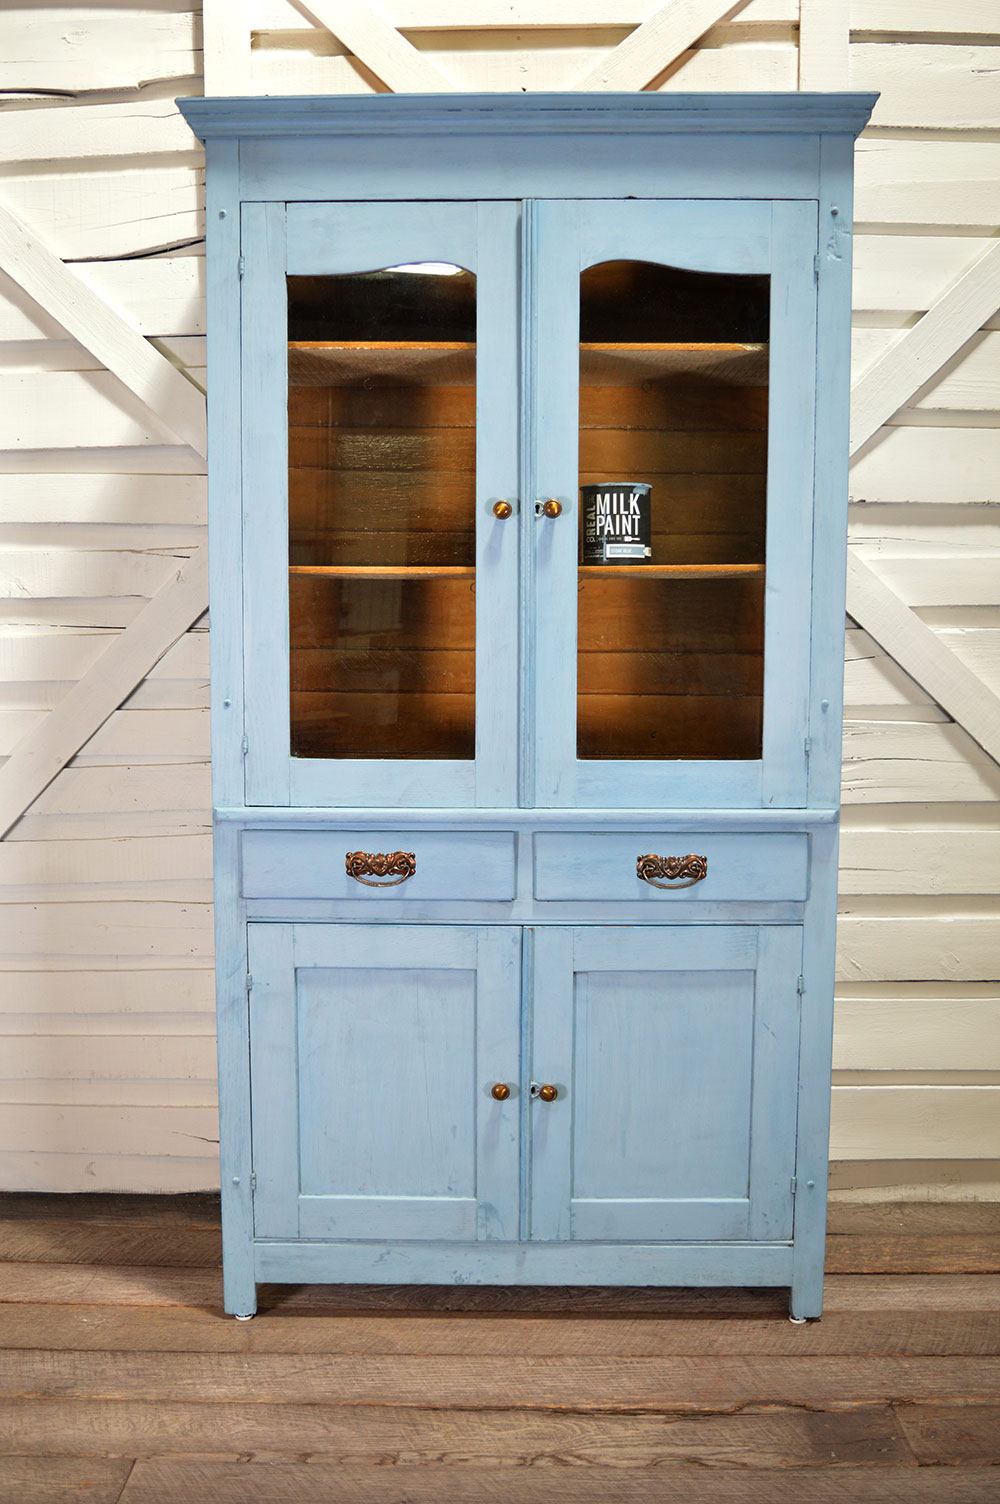
A peaceful calming blue color paint that feels deeply solid and rooted. Real Milk Paint is CPSC Compliant, making it safe for even the smallest ones in your life.
Stone Blue
From: $4.50
Product Description
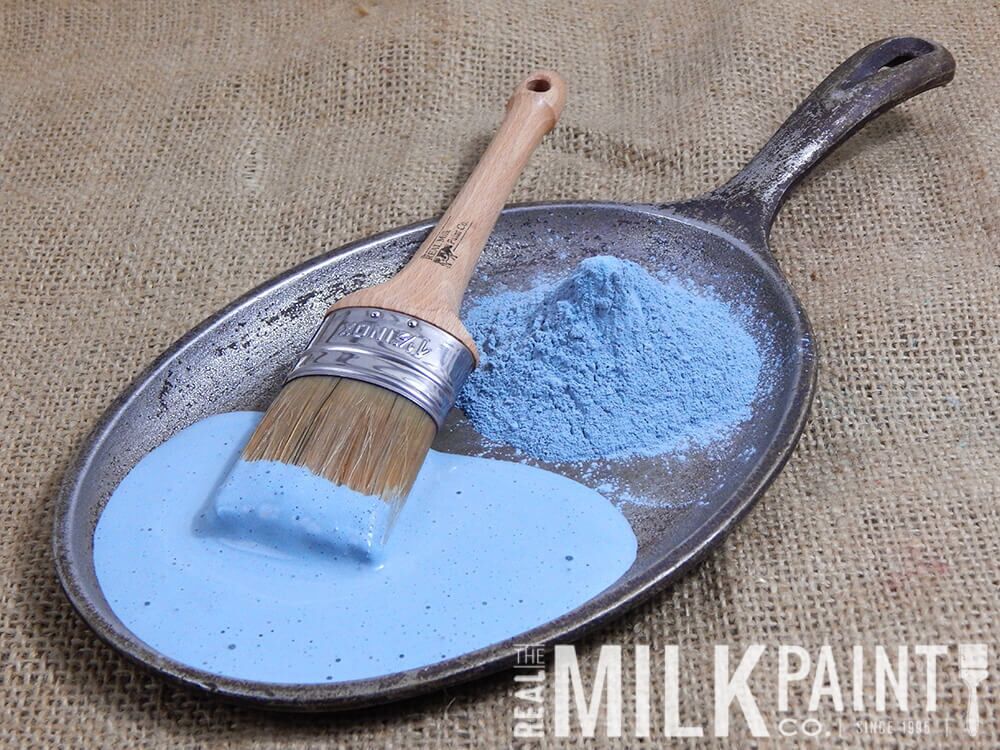
Environmentally Friendly, Non-Toxic, Powder Paint! Just Add Water!
Real Milk Paint is the ideal choice for an environmentally friendly, non-toxic paint that gives you convenience and a broad color selection. When choosing milk paint always choose products from The Real Milk Paint Company.
- Sticks to raw wood, plaster, dry wall, stone, unsealed brick and concrete
- Paint right on existing finishes for a Peele, Chippy or crackled surface
- No Primer need on raw wood and porous surfaces
- Sticks to latex with the addition of Ultra Bond
- Easy to use, water-based formula
- Each bag contains everything needed, just add water
- Remains usable for a minimum of two weeks after mixing with water
- Does not congeal to a blob
- Environmentally friendly
- Non-toxic
- Does not contain radioactive Kaolin Clays as a filler
- Traditional color palette, based on antique painted furniture
- Virtually no odor
- No residual odor after drying
- Dries fast
NOTE: All colors shown both digitally and in print are for representational purposes only. Please test any color in context to ensure it is the color you desire.
Preparation
Make sure the surface is free of contamination, wax, grease, or oils. We recommend TSP (trisodium phosphate) as a cleaner. For painting over nonporous or previously finished surfaces always test for adhesion or use Ultra Bond to ensure adhesion. Real Milk Paint® is a natural product and sticks best to other natural, porous surfaces like raw wood, concrete, brick, terra cotta, etc.
To remove conventional paints, we recommend Soy Gel. Or use Milk Paint Remover to strip away protein-based paints like milk paint.
Don’t use “Color changing filler” to repair any holes prior to using Real Milk Paint®. There is a reaction between the lime in the milk paint and the color-changing filler that turns the filler back to a pinkish-purple tone after it has dried. We recommend using Real Wood Filler.
Directions
Each Real Milk Paint® package contains the appropriate amount of powdered milk paint to create the stated amount of paint (sample, pint, quart, gallon). The recommended mixture is one part milk paint powder to one part water.
- Sample – 2 tbsp
- Pint – 1.25 cups
- Quart – 2.5 cups
- Gallon – 10 cups
Remove the bag from the can. Measure the desired amount of Real Milk Paint® powder into the can. Add equal parts of water into the can. Tap water can be used. For best results, use warm or distilled water. Place the marble in the can. Securely place the lid on the can and shake for approximately 5 minutes. Let paint rest for 10-20 minutes so Real Milk Paint® powder fully dissolves in water. Shake or stir again if clumps are present in the milk paint.
Real Milk Paint® should have a creamy consistency. If the paint is too thin, add small amounts of milk paint powder, stirring and shaking as necessary. If the consistency of the paint is too thick, add small amounts of water into the mixture. Reduce potential foaming of milk paint by using Anti-Foam.
Stir frequently while painting. Apply with a natural bristle brush, painter’s brush, foam brush, or foam roller. Allow Real Milk Paint® to dry on the surface for 30 minutes (or until dry to the touch) before applying successive coats. For complete and even coverage, two coats are recommended.
Milk paint is naturally porous and if left unsealed may absorb dirt, greases, and stains. After the paint has dried, it can be sealed with a variety of finishes. Some of our recommendations include Soft Wax, Finishing Creams, Hemp Oil, and Pure Tung Oil.
Real Milk Paint® has a 3-year shelf life as a dry powder and 14-day use after mixing with water. Dispose of unwanted milk paint in compost or by local disposal regulations. Clean up with mild soap and water. Clean your brushes professionally by using Lye Soap.
Spraying Milk Paint
It is possible to spray milk paint! Here are a few recommendations when looking to spray Real Milk Paint®.
- Adding water into your container first, then adding the milk paint can aid in better mixing.
- Mix milk paint according to the instructions above. Using a mixing paddle or whisk is also recommended to ensure any clumps get broken up.
- Allow mixed paint to rest overnight so that milk paint powder fully dissolves.
- Strain the mixed milk paint through a cheesecloth or paint strainer before pouring it into the hopper.
- Use the largest needle size on the spray gun to allow any large particles to pass through the gun.
Directions For Outdoor Use
Real Milk Paint® can be used outdoors (it is colorfast!) but there are a few specifics you should know before doing so.
The only materials that milk paint can be used on outdoors are raw, absorbent materials. These include raw wood, concrete, brick, stone, and others. If the materials are not absorbent (like finished or sealed wood, metal, fiberglass, etc) then the milk paint will not adhere to the surface nor allow for sealing of the milk paint later on.
For outdoor projects, we strongly recommend sealing Real Milk Paint® with a topcoat or finish. Because the milk paint is porous if left unsealed it will wear from the surface and absorb water, dirt, and other stains. Often, if the milk paint gets wet or rained on before sealing, it can have a white haze where the lime of the milk paint is coming to the surface. There are many options to seal milk paint, some great options include Outdoor Defense Oil or Pure Tung Oil. Real Milk Paint® will also take other finishes such as poly, varnish, and more.
Coverages
Sample
Real Milk Paint® Sample size covers approximately 2 sq. feet. This size can paint a small picture frame or add color accents to wooden children’s toys. Perfect for finding the color for your next project!
Pint
Real Milk Paint® Pint size covers approximately 35 sq. feet. Enough paint for a small dresser or two regular chairs.
Quart
Real Milk Paint® Quart size covers approximately 70 sq. feet. This size has the ability to cover a large dresser, small hutch, or headboard and footboard of a bed.
Gallon
Real Milk Paint® Gallon size covers approximately 280 sq. feet. The gallon size is the size you need to cover small kitchen cabinets or large dining room table and chairs.
Feel free to use our Paint Calculator for more help determining how much milk paint you need.
Hints & Tips
Milk Paint is highly customizable to create the look, texture, and feel you envision. Here are a few ways to manipulate the paint to create different looks;
- To create a wash, stain, or pickling effect with the milk paint, simply add more water to the milk paint mixture.
- For a crackle or “alligator” look, paint over previously finished surfaces. Also, you can use Natural Crackle to ensure you get that aged look!
- Want it chippy? Real Milk Paint® has great adhesion qualities and sometimes needs some extra help chipping away from the surface. That’s where Chippy Paste comes in!
- For a brushy old world, look to use natural bristle brushes for application.
- As days and weeks go by, the nontoxic paint will continue to become more resistant to moisture.
- Try in an inconspicuous area first, the color may change.
- Wear proper safety equipment, goggles, and rubber gloves.
Painting Tutorials
- How to Use Real Milk Paint
- How to Paint Walls
- How to Strip a Surface
- How to Crackle Paint
- How to Paint Unknown Surfaces
CAUTION: Contains calcium hydroxide (lime) may burn eyes and skin. Flush and rinse with warm water immediately.
What Real Milk Paint® is made of
We believe in being honest with what is in our products. That is why we provide the ingredients used in them so you can rest assured of knowing exactly what is in the product you use. It’s just another way we make it easier on you!
Milk Paint is made from
- Casein (milk protein)
- Calcium Lime
- Natural Pigment colors
- Plant-based filler (edible)
Safety Data Sheet
Want to dive in further? Then take a look at our Safety Data Sheets (SDS). Click here to view and/or download the Real Milk Paint® SDS.
CPSC Compliant

Real Milk Paint is a kid safe paint and we back that up by having our milk paint tested to be compliant and meet the requirements set by the CPSC (US Consumer Product Safety Commission). Real Milk Paint meets the requirements and is suitable to be used as a kid safe paint for children and baby products. Our milk paint is tested by an ISO-accredited US CPSC-accepted lab for the US Consumer Product Safety Commission’s requirements for ASTM F963-17 – Standard Consumer Safety Specification for Toy Safety Soluble Heavy Metals in Paints, Surface Coatings or Substrates & Total Lead Content in Paint and Surface Coatings. Both of which Real Milk Paint passes! Now you can rest easy knowing that the paint you use is safe for even the littlest of ones in your life. Read more about this topic by clicking here!
Click here to read the Formal Letter Of Compliance.
NOTE: All unlisted Real Milk Paint® colors are made with combinations of the ingredients in the above-tested colors. In the manufacturing of Real Milk Paint® colors not listed in this report, no other ingredients are added so you can rest assured that your project, no matter the color used, has integrity.
Do you make baby and/or kids toys for sale?
If you make baby and kid’s toys for sale and wish to use Real Milk Paint we recommend purchasing the Real Milk Paint CPSC Test Report. This document is necessary to show as proof your products are in compliance with the US Consumer Product Safety Commission’s requirements.
Milk Paint Project Planning Guide
Need help planning your next project using Real Milk Paint®? Then use this handy guide to walk you through the steps! Click on the image to expand.
How much paint do I need?
No need to crunch numbers! Our handy paint calculator will help you figure out how much paint you need! To get started, enter the dimensions of the surface(s) you’re painting (in feet). NOTE: this is not the square footage of your floors! Our paint estimator assumes a two-coat application for optimal coverage.
For example, to paint four walls in a room you would add the width and height of each wall. Enter a single walls dimensions, click “add area”, then enter the next walls dimensions and repeat.
