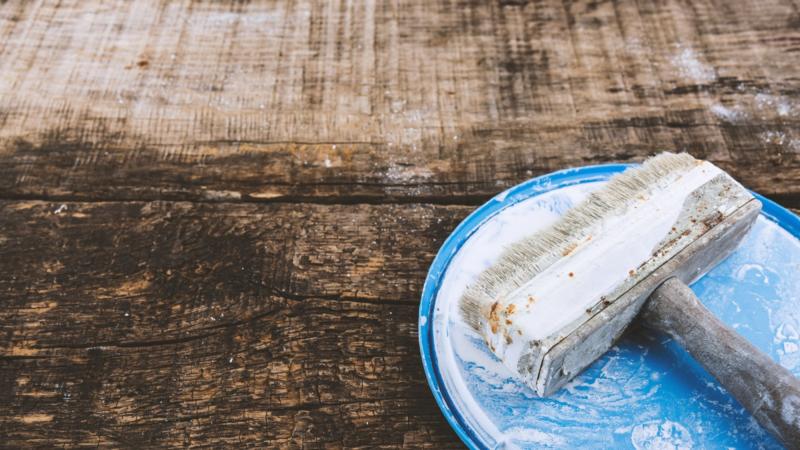
If someone suggests an afternoon of pickling, those unfamiliar with DIY terminology and home improvement projects might reasonably assume they should gather up a bushel of cucumbers and some vinegar and get to work. While that sounds tasty, in the crafting and woodworking worlds, pickling is something entirely different.
What Is the Pickling Technique?
Pickling wood is very close to whitewashing and bleaching in that they’re all ways to treat wood and create a sort of “wash” of light, transparent color that still allows the woodgrain to show through. You can even use white paint to create a whitewashed look on your wood finish.
The term “pickling” dates way back to the 16th century when Europeans would treat their wood with caustic lye to prevent wood infestations from ruining wood furniture and even the structure of the homes themselves. Unlike many such preventive measures, pickling actually added to the look and feel of the surfaces it was used upon, and a new decorative trend was born.
Almost any wood surface can be pickled, but the effect is far more prominent on lighter materials. You can pickle your shutters, walls, floors, woodwork projects, kitchen cabinets, bathroom doors, picnic table or grandmother’s old rocking chair. Use the technique to create a focus wall or reimagine a picture frame, or use it strategically throughout your beach house for a chic, worn-in look that feels both homey and artistic.
Keep in mind, too, that while a pickled finish may often look rustic, it doesn’t have to be. Depending on the underlying woodgrain, paint coverage, technique and even the tools you use for application, pickling can be as deliberately unpolished or as smooth and refined as you wish. However because milk paint contains lime, it can make woods that have tannins in them like oak to get darker. Always do a test area first.
Why Use Real Milk Paint
Real Milk Paint is a fantastic choice to use as a pickling stain for several reasons:
- You control the coverage. For a lighter wash, just add a little more water. For a more opaque finish, use a higher powder-to-water ratio.
- Create your own colors easily by mixing paint until you find a shade you like. Rather than opening multiple traditional paint cans and dealing with messy drips and spills, you just scoop a bit of Real Milk Paint powder from one container and some from another and mix them together.
- It’s shelf-stable for at least two weeks. Mix up your Real Milk Paint today and use it for any projects you have on tap in the near future.
- It’s safe and nontoxic. Use it to pickle the furniture for your baby’s nursery or take on a DIY project in your living room or den and never worry about noxious fumes.
- Real Milk Paint is environmentally sound — so much so that you can dump the leftovers in your garden and it will actually help the soil, not hurt it.
How to Pickle: Step-by-Step Directions
- Step One: Prep your surface by wiping away any dirt and debris, and then use low or medium grit sandpaper to help open up the wood’s pores so they’ll better soak up the paint. Clean up after your sanding efforts with another quick wipe using a lint-free cloth.
- Step Two: Mix up your favorite color of Real Milk Paint (you’ll want it thinner than usual to get the proper pickling effect — try mixing 2 parts water to 1 part powder to start) and use a clean, dry paintbrush to do a test patch with your pickling solution. Use a clean, dry rag to rub the paint into the wood, working against the grain. Grab another clean rag to remove the excess stain.
- Step Three: If you like your results, continue to repeat Step Two, working in small sections until the entire surface is complete. If you want more or less coverage, adjust your paint mix and do another test patch.
- Step Four: Allow your paint to dry, and then seal it using one of our finishing creams in low sheen, dead flat or gloss. Depending on the surface and your desired effect, a Real Milk Paint’s Soft Clear wax sealer may be a good choice, too. Keep in mind whether you’re pickling a high-traffic area and if your piece will be exposed to the elements — that will help you pick the finishing solution ideal for your needs.
Share Your Project with Us
Ready to try your hand at pickling? We want to see your masterpiece! Share your pics on our Facebook page or tag us on Instagram.


