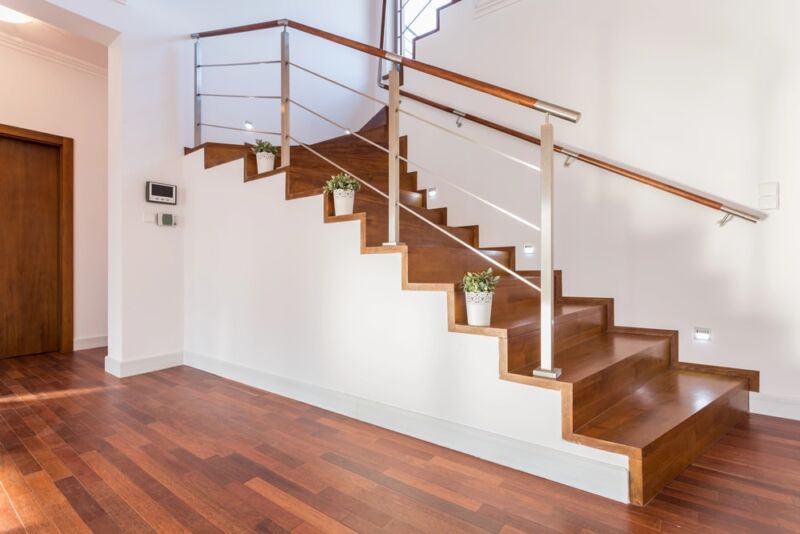
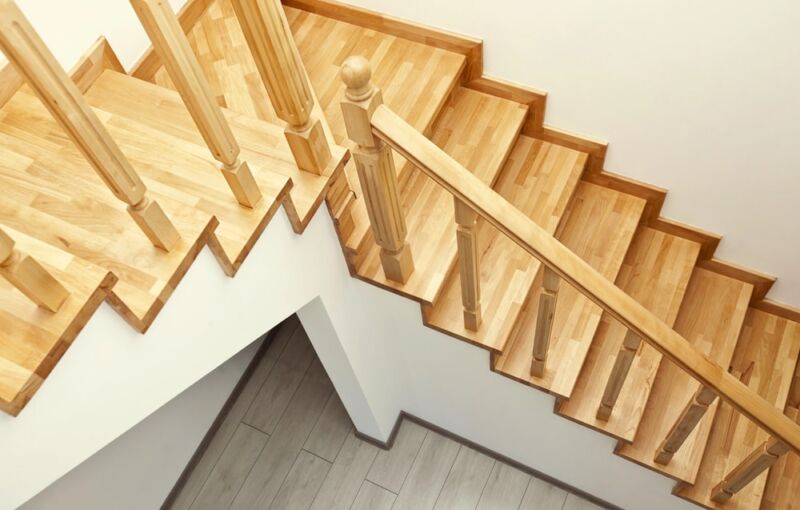
 If you’re looking for a way to breathe new life into your entryway or hallway, consider painting the stairs for your next project. Whether you have wooden stairs that are ready for a paint job or carpeted stairs that need a big makeover, painting stairs can provide a big boost of color and style to your living space. The best part is that you don’t need to be a professional painter to get a beautiful finished product when you decide to start painting your stairs with Real Milk Paint.
This guide aims to help you transform your stairs into a statement piece using eco-friendly Real Milk Paint. Whether you’re new to DIY or an experienced renovator, this step-by-step guide will walk you through the process of preparing, painting, and sealing your stairs, ensuring a durable and stylish finish. We’ll cover everything from the tools you’ll need to advanced techniques to customize your design.
Step-by-Step Guide On How To Paint Wood Stairs With Real Milk Paint
Painting stairs is simple when you have a high-quality paint like Real Milk Paint as your medium. Here’s a step-by-step guide on how to paint a staircase, whether it’s made from bare wood, concrete flooring or wooden stairs with an existing coat of paint on them.
Why Choose Milk Paint to Paint Stairs?
Real Milk Paint is a non-toxic, natural option made from ingredients like milk and lime. It’s an excellent choice for high-traffic areas like staircases because it adheres well to various surfaces and provides a durable, matte finish. With no harmful VOCs (volatile organic compounds), it’s safe for homes with children and pets. Moreover, milk paint is versatile—it works on bare wood, concrete, or even stairs with existing finishes, making it the ideal choice for DIY enthusiasts.
Real Milk Paint also excels where traditional paints struggle. Unlike latex paint, which can emit strong fumes, milk paint is odor-free, making it ideal for indoor projects like stairs. Plus, it doesn’t chip or peel over time like standard paints, so you won’t have to worry about frequent touch-ups in high-traffic areas. Its unique bonding properties allow it to adhere to almost any surface without needing a primer. The natural matte finish is particularly appealing for vintage or rustic styles, where you want a textured, timeworn look without the effort of distressing the paint manually.
Tools You’ll Need to Paint Your Staircase
The first step in how to paint wood stairs with Real Milk Paint is gathering the tools and supplies you need for the project. Depending on the template you decide upon and the condition of your stairs, you may not need all these supplies, but it helps to have them on hand for future projects, even if you don’t use them on this one.
Here’s a quick checklist to ensure you have all the necessary tools and supplies on hand when you’re ready to paint stairs:
- Real Milk Paint (1:1 ratio with water)
- Brushes (various sizes)
- Paint rollers
- Painter’s tape
- Sandpaper (120-grit for prep, fine-grit for finishing)
- Drop cloths
- Stir sticks
- Ultra-Bond Adhesion Promoter (optional)
Use the checklist to ensure everything is ready before you start painting.
Safety Tip: While Real Milk Paint is non-toxic, make sure to work in a well-ventilated area, especially when sanding or using chemical strippers. Always wear protective gloves, masks, and goggles when handling sanding tools or chemical products.
Brushes and Rollers
Both paint rollers and paintbrushes come in handy when you’re painting stairs. Rollers provide excellent coverage on flat, smooth surfaces, while paintbrushes get into cracks and crevices that rollers miss. You may want to keep rollers and brushes in various sizes to accommodate any smaller or larger areas than usual as you paint a staircase.
Painter’s Tape and Sandpaper
Painter’s tape lets you section off areas for templates or cover spaces you don’t want to paint at all. Sandpaper helps you achieve the tooth you want to make the milk paint stick to the stairs, and fine-grit sandpaper in particular works well for smoothing out small imperfections in the wood.
Other Necessary Supplies
Some other supplies you need to paint stairs include drop cloths to prevent paint from dripping onto areas you don’t want to color. You also need a paint stick for stirring the Real Milk Paint after you mix it with water at a 1:1 ratio, and if you want to ensure the medium sticks securely when applied atop old paint or other finishes, you may also want to add our Ultra-Bond Adhesion Promoter to your list of necessary supplies.
If you’re working with previously painted stairs and need extra adhesion, consider adding our Ultra-Bond Adhesion Promoter. This ensures the paint will stick to non-porous surfaces like old varnish or glossy finishes. For finishing, you can also explore our Pure Tung Oil to provide a protective topcoat, especially in high foot traffic areas like stairs.
Choose the Right Color for Your Staircase
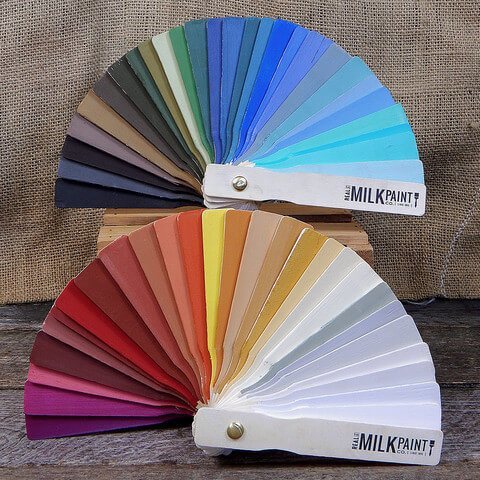
 The right color to paint a staircase depends on the look you wish to achieve, and Real Milk Paint comes in 56 gorgeous shades that simplify palette creation. For instance, white milk paint shades distressed at the edges lend farmhouse flair to your space, while black milk paint hues take your home’s sophistication level up a notch. Keep in mind you can mix and match your color selections to create high-contrast drama, like with black and white combinations, or a soft complementary look, such as those created by pairing gray milk paints with shades of green to craft a balanced, earthy home design.
For a cohesive look, match your stair color with other elements in your space. For example, a neutral gray stairway pairs beautifully with cool-toned walls and metallic accents, while a warm white lends a cozy feel to spaces with wood furniture and warm lighting.
Step 1: Prepare the Staircase Surface
Preparing to paint stairs requires cleaning, inspecting and repairing the surfaces before you get started on the task at hand. Since painting stairs with Real Milk Paint doesn’t require using a good primer, a good wipedown with a high-quality cleaner like our Tri-Sodium Phosphate removes any dirt or debris that might interfere with coverage. After applying the cleaner, let the wooden stairs dry completely before moving on to the next step.
Before applying any paint, carefully inspect the stairs for imperfections. Pay special attention to cracks or chips in the wood, as these will affect the paint finish. For a professional touch, use a putty knife to apply Real Wood Filler to any damaged areas, then sand down until smooth. It’s also essential to sand any glossy surfaces to improve adhesion. If the stairs have an existing stain or finish, you can lightly sand them with 120-grit sandpaper to create a better surface for the paint to grip.
Remove Existing Coat of Paint or Finishes
If you plan on covering old paint with Real Milk Paint, you may just need to sand stairs with buildup a bit with some fine-grit sandpaper to ensure good tooth for even coverage. Stairs covered with old paint or stain that might bleed through or hinder your creative vision may require removing the existing finish. Use a chemical stripper such as Soy-Gel Professional Paint Remover to get the job done safely, since this formulation encapsulates potentially hazardous mediums like lead paint for easy removal.
Repair Damaged Areas
If you discover divots or dings that need some extra care, now’s the time to repair them with Real Wood Filler. Simply smooth this resin-based wood filler on the uneven area and scrape the excess away with a putty knife. Let the wood filler dry, then sand down the surfaces to complete your prep work for painting the stairs. During this step look for any metal stains on the stairs and if needed, clean the area thoroughly with Oxalic Acid Wood Bleach.
Step 2: Paint Stair Treads, Risers and Other Components
When you’re ready to paint a staircase, keep in mind the overarching design. For instance, you may choose to paint the risers and stair treads in different color combinations to lend visual appeal to your painted stairs. Other ways to increase interest in your design include using painter’s tape to cordon off an area and create the illusion of a runner on your stairs by using two paint colors and a small paintbrush. You can also include striping, abstract designs or even stenciled patterns as you add new paint, letting your creativity shine without the need for a specialist floor paint.
Pro Tip: If you’re feeling adventurous, consider adding stenciled designs or stripes to your stairs for an extra touch of creativity. You can even use painter’s tape to create a faux carpet runner effect by painting a strip down the center of your stairs in a contrasting color. Need inspiration? Check out our gallery of customer projects for some amazing DIY paint stairs transformations!
Step 3: Drying Time
 When you’ve decided on a theme and applied painter’s tape to set your template, it’s time to start painting. Use paintbrushes and rollers to smooth the first coat of Real Milk Paint onto your stairs. Put thin coats starting with the top of the stairs moving from one step to the next, then painting the remaining steps and keeping your color even. After applying the first coat, you’ll notice the paint begins to absorb evenly into the wood, leaving a soft, matte finish. Let it dry for at least two hours before moving on. You should feel a smooth, dry-to-the-touch surface when it’s ready for the next coat. Apply as many coats of paint as needed until you achieve the final coat that gives your stairs the best appearance.
Since your stairs likely see lots of action, consider adding a top coat to the painted surface like our Pure Tung Oil. Designed to work over Real Milk Paint and made from 100% Chinawood oil for nontoxic coverage, this finishing oil cures by oxidation, not evaporation, creating a hard yet flexible barrier that helps areas like stairs easily withstand frequent footfalls.
Applying Pure Tung Oil as a topcoat not only protects the surface but also enhances the durability of your painted stairs. This natural oil forms a tough, waterproof barrier, making it perfect for high-traffic areas like stairways. Plus, its non-toxic, eco-friendly composition ensures your family and pets remain safe. This finishing oil takes 7 to 15 days to cure to the touch and 30 days for a full cure, so keep that in mind before you apply sealer to your painted stairs.
Stair Maintenance After Painting
To ensure your painted stairs maintain their beauty, especially in high-traffic areas, regular maintenance is key. Clean the painted surface with a damp cloth and avoid using harsh chemicals, as these can degrade the paint finish over time. You can apply an additional coat of Pure Tung Oil every 1-2 years to keep the surface protected from wear and tear, ensuring your stairs look as good as the day they were painted.


