Guide On How to Use Milk Paint
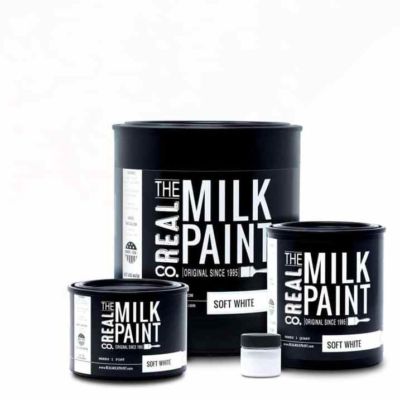
Congratulations! You have made your purchase and are ready to start your home improvement project using Real Milk Paint. Real Milk paint is a durable paint that will last for years. It has milk protein and is very safe paint to use, as it does not contain any toxic chemicals.
However, first-time users may need help using Real Milk Paint or other milk paint brands. Here’s a complete guide on how to use our milk paints.
What is Milk Paint?
Milk paint is an environmentally friendly powdered form of paint made from simple, 100% natural ingredients like milk protein (casein), lime, and natural pigments. It is known for its matte, chalky finish and is used in various decorative and artistic applications. Milk paint has no volatile organic compounds (VOCs), making it a safe choice for the environment and indoor use.
A Brief History of Milk Paint
Milk paint boasts a rich history that dates back thousands of years, making it one of the oldest known forms of paint. Its origins can be traced back to ancient civilizations, where it was used for its natural ingredients and simple production process.
The use of milk paint flourished during colonial times, especially in North America, where it became a popular choice for coating furniture, barns, and houses. Farmers would often mix the paint themselves, using milk from their own cows, combined with lime and pigments to create a versatile and long-lasting paint. The revival of milk paint in modern times, driven by an increasing interest in sustainable and natural products, underscores its enduring appeal and timeless quality.
 How to Mix Milk Paint
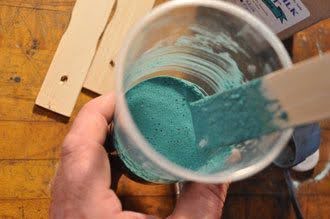
When using Real Milk Paint, keep in mind it comes in powder form, so you need to prep and mix milk paint yourself. No matter if you need a little or a lot, we recommend mixing milk paint at a ratio of one part powdered paint to one part water because it makes the mix roughly as thick as pancake batter for even application.
Additionally, Real Milk Paint takes about 20 minutes to thicken, and you need to stir it occasionally during the paint mixing process to help it along. To ensure it has the right consistency, you can also mix up the amount you need the night before to ensure smooth painting.
How to Remove Foam from Milk Paint
If some of the color resists mixing with water or gets foamy, consider using Real Milk Paint with our Anti-Foam additive. Real Milk Paint requires only a few drops of this additive per pint, making it an economical way to improve paint flow. This additive requires only a few drops per pint, making it an economical way to improve paint flow.
Additionally, you can leave your mixed paint a little foamy if you wish to create a textured or antiqued look. During this step, you also want to mix in any other additive into the emulsion, including UltraBond adhesion promoter that helps Real Milk Paint adhere to nonporous surfaces and Outdoor Additive that provides extra resistance to mold, mildew, and knot bleed through.
 How To Customize Milk Paint
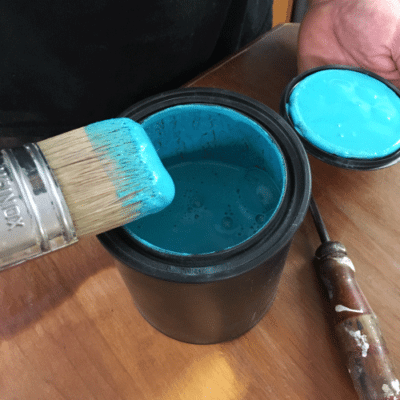
Because you mix Real Milk Paint yourself, you can make it as thin or as thick as you want for the project ahead. For instance, thinning down this medium lets you create a washed look to raw wood for a quick, simple upgrade to your project.
Thicker mixes smoothly on well for rich coverage and work well if you want to leave brush marks on the surface. If you get the mix too thick, simply add more water until it flows easily off the brush. You may also find your second coat spreads easier if you thin down the Real Milk Paint a bit before brushing it on your surface.
The most common mistakes with Real Milk Paint usually arise from too thick an emulsion, so don’t be afraid to thin it down more after you initially mix it.
How to Use Milk Paint
Unlike chalk paint or latex paint, milk paint is versatile enough for use without primer or sanding, Real Milk Paint adheres on its own to everything from wood, plaster and drywall to concrete, brick, and terra cotta. With the addition of our Ultra Bond, bonding agent it will stick to latex paint, plastic, glass, metal, and other nonporous finishes.
It works particularly well on both indoor and outdoor furnishings you wish to imbue with a distressed or weathered effect. This forgiving medium goes on smoothly with several brush styles, including our variety of chip brush sizes that help you achieve broad coverage and tight detailing if you are looking to paint furniture that are small.
Great for adding a second coat, our Blue Tip paint brushes boast natural hog bristles for excellent durability and easy cleanup. Our foam brushes make a great choice for projects where you want a smooth Real Milk Paint finish completely free of brushstrokes.
 Applying Milk Paint
First, clean the surface you wish to paint with our Tri-Sodium Phosphate cleaning agent, which strips away grime without leaving behind residue. As noted above, Real Milk Paint goes on over both raw and previously finished surfaces, so you don’t need to prime or sand most materials to achieve great adhesion.
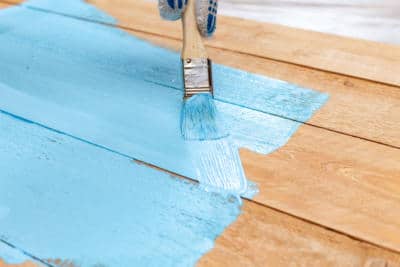
Next, grab the tools and supplies you need for the task at hand and the Real Milk Paint you premixed. Brush the mixture on the piece you’re embellishing, starting with the large areas, then working to the edges and detailing. Once you have it covered, let it dry for one to two hours, then coat it again, focusing on adding or removing the brushstrokes, depending on your desired results.
Milk Paint Techniques
Depend on Real Milk Paint for a versatile finish that easily adapts to numerous indoor and outdoor decorating needs. If you want more complex paint color effects like two-tone weathered finishes, use one of our Finishing Creams between two complementary colors, such as French Gray over Blue Spruce or Sunflower over Fresh Lemon. Consider our Natural Crackle paint finish to impart an all-over antiqued look to furnishings, or choose Chippy Paste to confine weathering to just the areas where you want a rustic touch.
To create a custom finish that seals your Real Milk Paint, complete your project by covering your surface with one of our Finishing Creams. This sealer option doesn’t change the color beneath yet provide a washable surface that’s simple to maintain over time.
Using Milk Paint Outdoors

Real Milk Paint is also great for use outdoors! Because of the pigments used in its ingredients, every color dries fast and won’t fade when exposed to damaging sun rays.
When painting outside, it’s best to be working with porous surfaces like raw wood, concrete, or brick as milk paint can act as a porous paint. If the wood you’re working with has lots of knots in it, outdoor additive will prevent the tannins in the knots from bleeding through the milk paint.
If left unsealed, Real Milk Paint will slowly wear away from the surface. To reduce and stop this from happening, its best to seal the milk paint with Pure Tung Oil or Outdoor Defense Oil. These hard-drying oils will lock the milk paint in and seal the material from the elements providing a long-lasting, beautiful, and natural finish.
Real Milk Paint ® should run off the brush in a stream without breaking but not as thin as water. If the paint is applied in a thick consistency it will have a greater tendency to crack.
In the shop when we are mixing small amounts we use a small tabletop milkshake mixer. Inexpensive new ones are available for about $20.00. We have had ours for over two years and use it almost daily without a problem. Fill a one-pint jar halfway with milk paint powder and water. Insert jar over propeller till it touches the bottom of the jar and turns on the milkshake mixer. After the paint is mixed just pull the jar off the propeller as it spins clean.
If you want to make a thin transparent stain, you can thin the milk paint even more. Add two-part water to one-part Real Milk Paint will make a nice wash coat for the interior of the cupboard.
If you are mixing gallons I suggest mixing in a five-gallon bucket. Also, you may want to purchase a paint paddle that attaches to your electric drill. I use a ½ “shaft paint paddle with a big ½” chuck drill in the shop. When painting with large batches of paint remember to stir occasionally as you use the paint. This will help keep it uniform and from settling.
Other Painting Tips
Raw wood should be clean of grease and oil. Sand with any grit up to 220. Sanding too fine will only burnish the surface and make it harder for the milk paint to stick. The first coat of milk paint will likely soak in and raise the grain of the wood.
After the paint is dry sand lightly with 220 to 320 grit sandpaper. Steel wool will not cut the raised fibers and will leave broken up piece of steel wool in the crevices. Remove dust with a tack cloth or compressed air.
You are ready for the second coat. Most milk paint brands may need to be thinned a bit to spread well. You will usually get much more coverage with the second coat than the first. Milk paint tends not to flow out like latex paints. This means it will have a brushy look. It also tends to be a bit streaky creating a variegated surface.
Also different types of applicators will create different effects. A roller will leave different marks than a brush or a sponge. For an old-world look use a Natural Bristle Brush. For a smoother, more uniform look use a Sponge Brush. It is best to experiment with the different applicators and application methods before painting the entire project.
Real Milk Paint Company Shares Painting Techniques
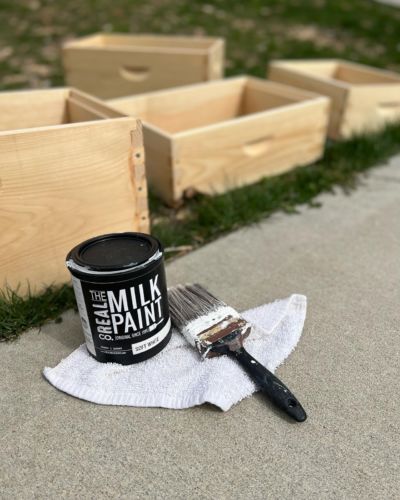
The effects that can be created with Milk Paint are almost unlimited.
To create layers and wear, Real Milk Paint® is very forgiving and easy to use. If you want to stain the wood first, I recommend using Anline dye stains, alcohol-soluble or water-soluble, or water-based stains. These stains will not interfere with adhesion as other oil base stains.
After staining, paint the first coat. Before the paint is fully dry, take a rough cloth and dampen it with water and wipe through the areas you want the wood to show. Have a bucket of water nearby to rinse your cloth. I don’t usually recommend using sandpaper to create wear, it is too hard to control and will not provide a faded in-and-out look that a damp cloth will provide. Allow the first tough coat to dry and then lightly scuff sand if you find it too rough.
Dust off the surface, apply the second coat and allow to dry. Now the project is ready for the third and contrasting color of paint. Apply the paint in the same manner as previous costs, being mindful of the wear areas that are raw wood. Paint up around that wood.
Do not worry if you get some on the wood. You can use the damp cloth to quickly wear it away. The contrasting paint layer will not mix with the previous layers. Now, take a damp cloth and wipe the paint back to the previous color. You have about an hour of working time, so there is no need to rush. You will find however as the paint dries it does get tougher to remove with the damp cloth. If you allow it to completely dry, the only way to remove it would be with sandpaper or milk paint remover.
When dry, a finish can be applied as your final coat such as Pure Tung Oil. Thin one-to-one with Citrus Solvent. Apply with a brush and allow it to penetrate. Two coats would be sufficient on most surfaces. Allow to dry for a couple of days before hard use.
Have fun! Go out there and experiment – the paint won’t hurt ya!
Instructional Video: “How to Shake Your Can to Mix”
Dwayne Siever
The Real Milk Paint Co.[/fusion_builder_row][/fusion_builder_container]