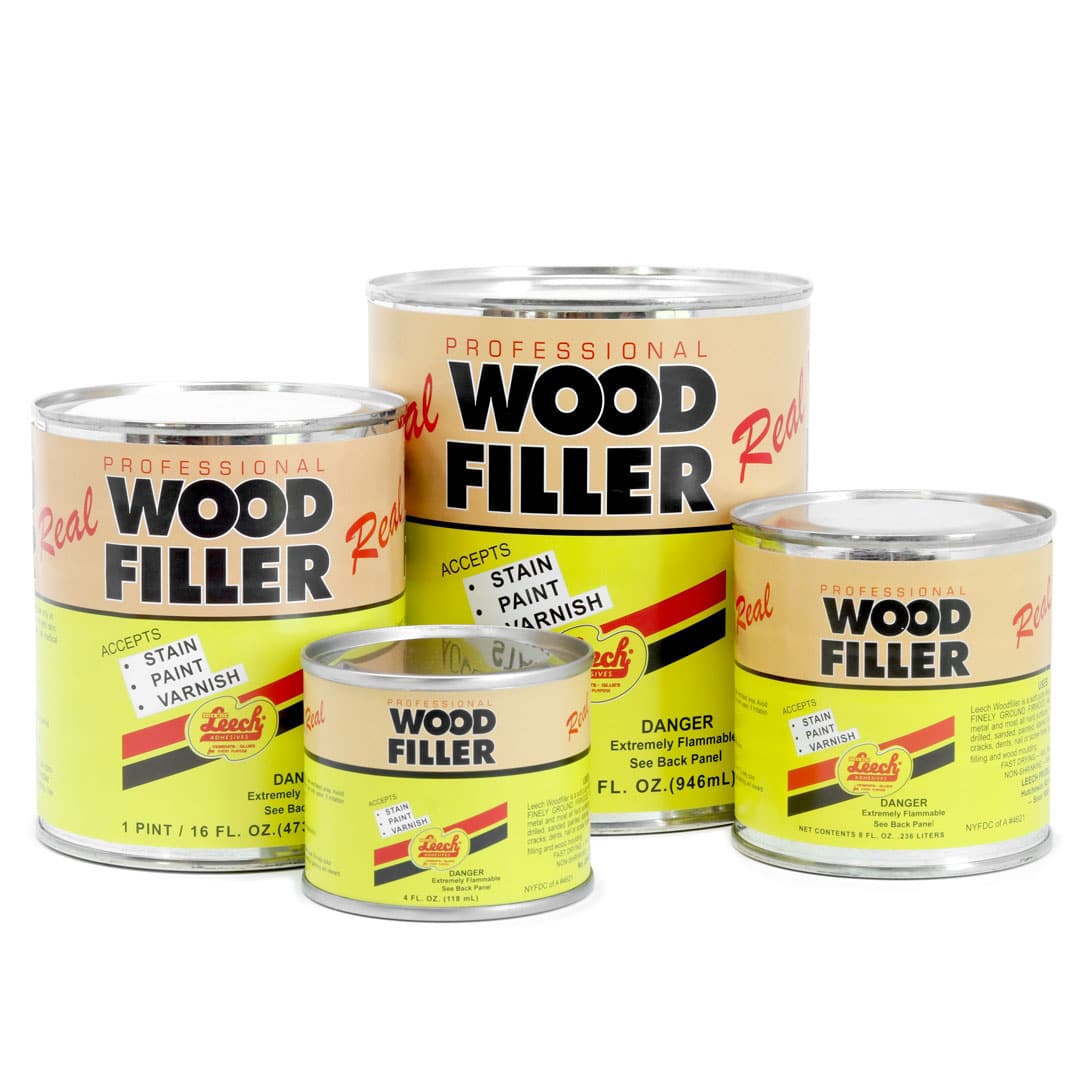
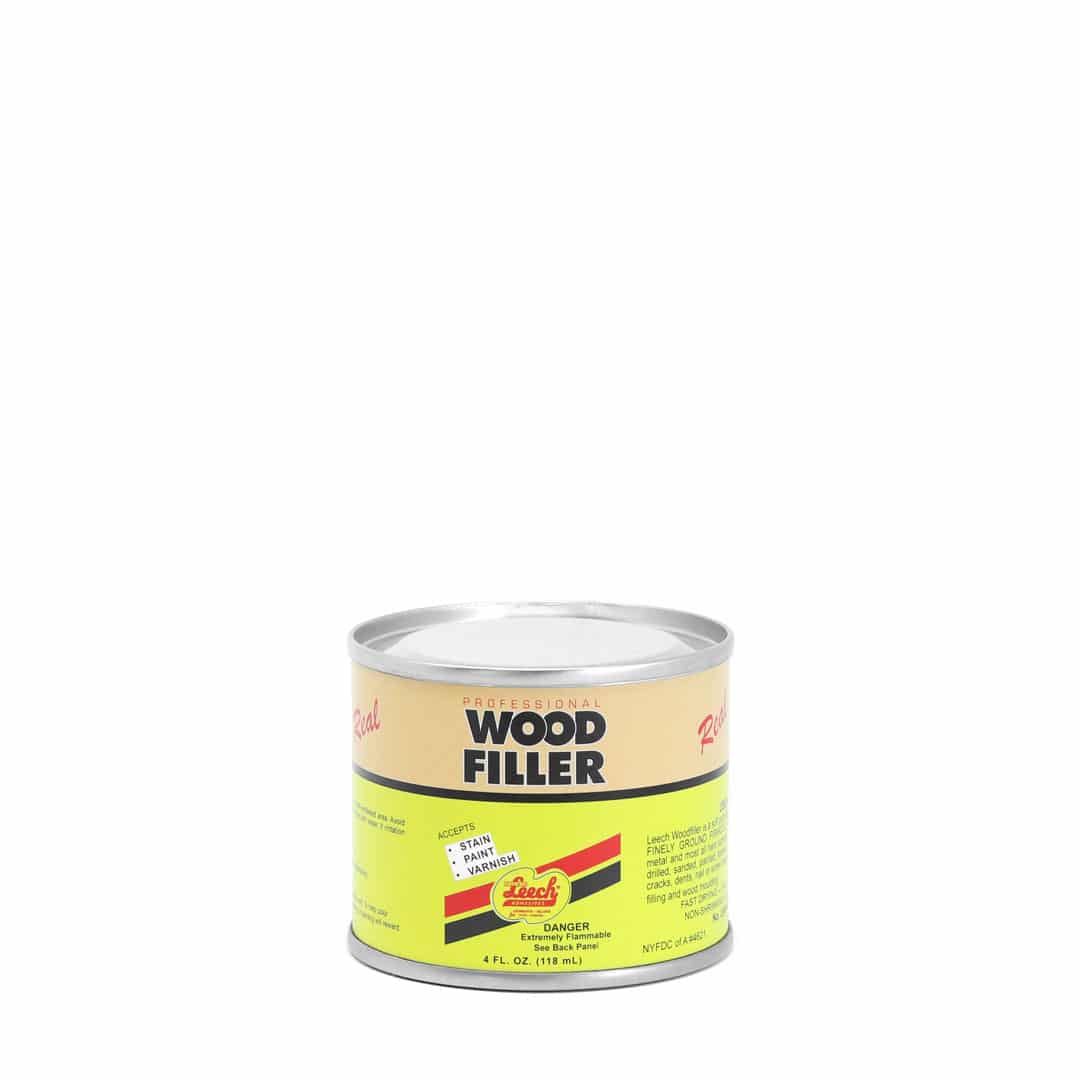
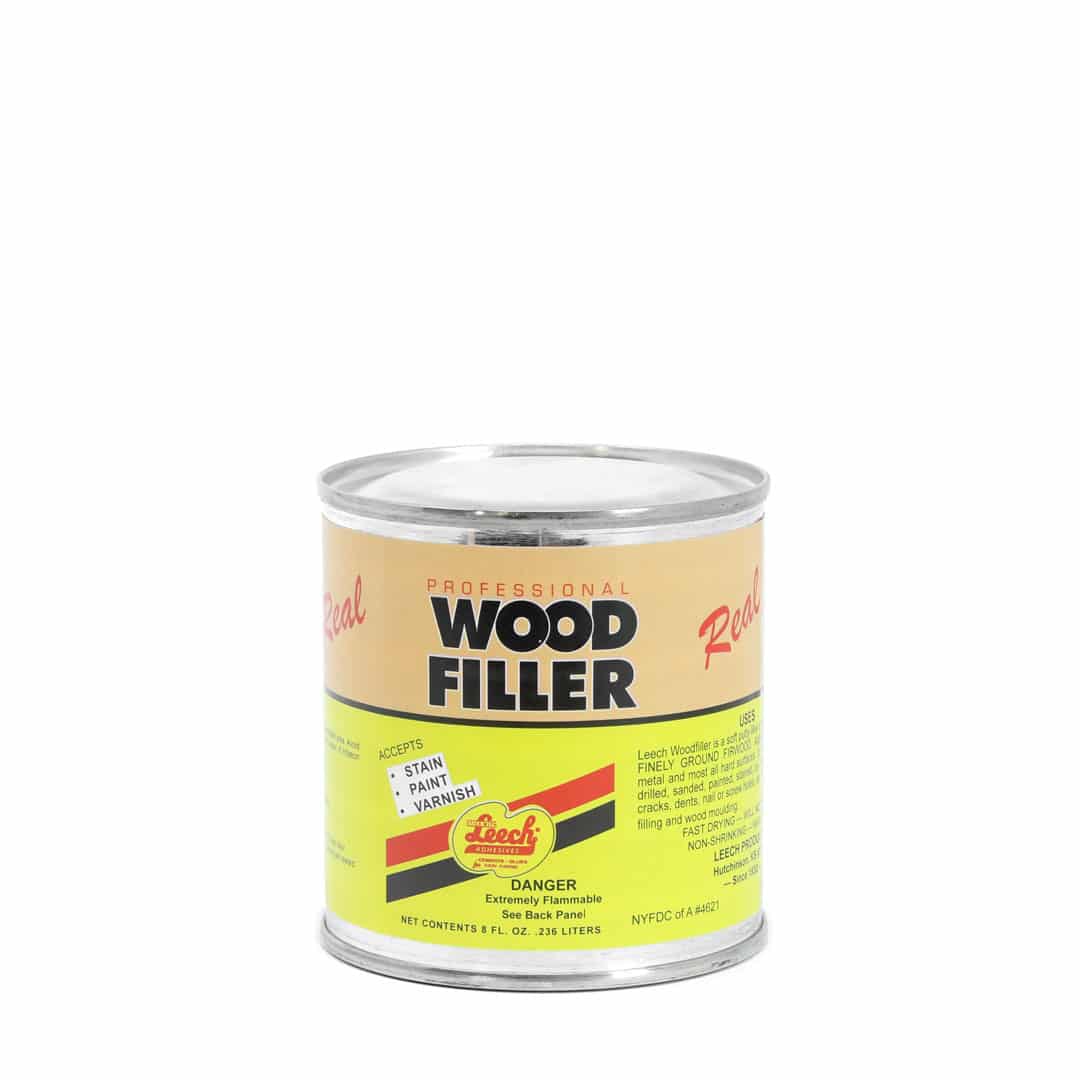
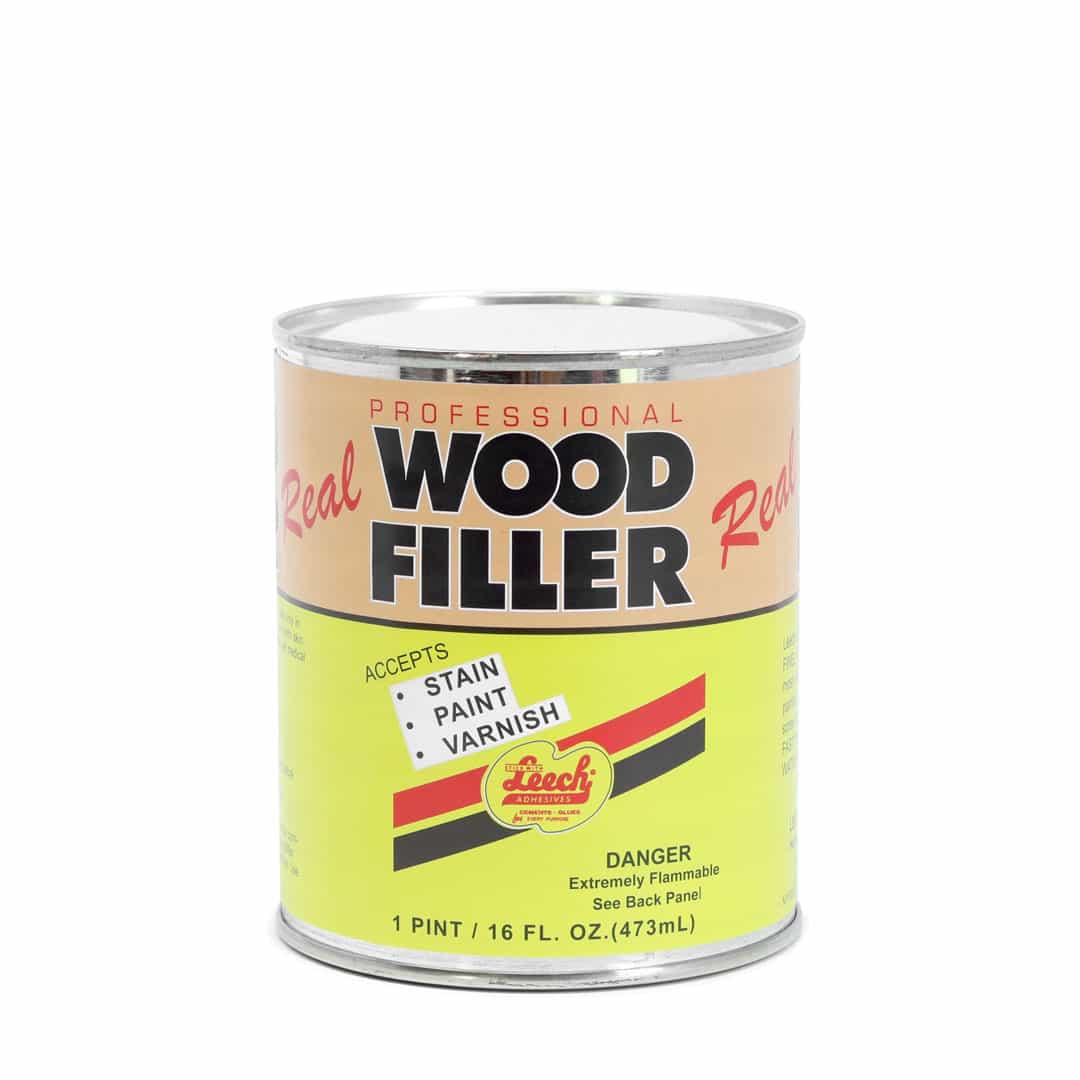
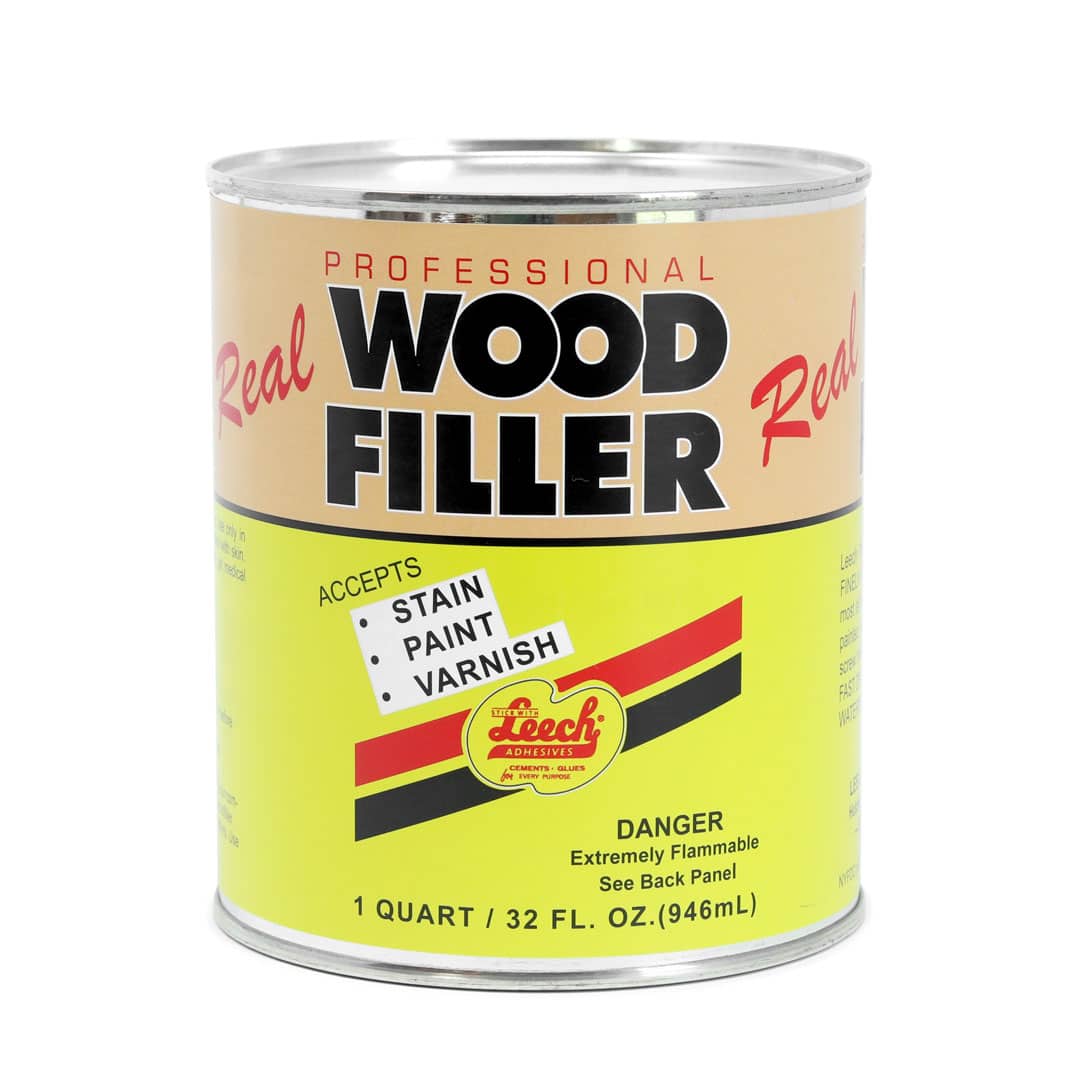
Real Milk Paint wood filler is a soft wood putty-like compound made with finely ground firwood. Adheres to wood, glass, metal, and most hard surfaces. This wood filler can be sawed, nailed, drilled, sanded, painted, stained, or varnished. Use wood filler to fill or repair cracks, dents, nail or screw holes, etc. For all kinds of wood filling and wood molding.
Real Wood Filler
From: $10.99
Product Description
Real Milk Paint wood filler is a resin-based wood filler, developed for the plywood and furniture industries, to repair wood fibers in plywood, furniture, laminated beams, cabinetwork, and other woodworking applications. It molds like putty and is consistent, uniform, waterproof, and fast-setting with minimal shrinkage. Made with genuine wood flour it can be sanded, stained, sawed, planed, or drilled like ordinary wood.
This wood filler works best when it is used to fill small holes in wood or large or deep areas of cracks, such as from small nail holes. Spread evenly into cracks, damaged edges or holes, let the wood filler dry completely, and sand smooth to the surface being repaired. Paint or stain to match the wood surface. It can also be revitalized with acetone if becomes dry in the can.
ACTS LIKE REAL WOOD
Wood fillers can act like real wood. It can be sawed, drilled, sanded, planed, and nailed when completely set.
EASY TO COLOR
The natural wood tones of wood fillers make it an easy-to-color material. Readily accepts dry paint powder, pigment powders, stains, and paints prior to application to create a custom color wood filler.
INTERIOR OR EXTERIOR USE
Used the wood filler to fix finished furniture like shelves or to mend a crack of an unfinished furniture like countertops. It can also be used for exterior woodwork or interior woodwork and is waterproof when set.
WON’T CRACK OR SHRINK
Most wood filler shrinks, but Real Milk Paint’s wood filler spreads evenly into cracks and holes without crumbling or cracking, making it the best wood filler for surface imperfections.
SUPERIOR STRENGTH
Hard finish with little or no shrinkage allowing you to achieve professional looking results.
QUALITY FINISH
Takes oils, stains, milk paint, and paints evenly with minimal sanding. For the best results, we suggest adding the stain, milk paint, or pigment powders to the raw wood filler prior to use.
How to Use Wood Filler
Now that you’ve gathered your supplies, you’re ready to use wood putty or wood filler to repair cracks, even out large gaps, or fill holes. You can also use this process for covering nail holes, and it works equally well on unfinished wood and finished wood. Also, before you begin, make sure you have chosen the appropriate wood filler for the area where you intend to use the object you’re repairing.
There are two main types of wood filler. Water-based wood filler is easy to use, cleans up with soap and water, and dries relatively quickly. Water-based wood fillers are not a good choice for outdoor projects, as outdoor applications respond better to most wood fillers that have oil-based compounds.
The other common type of wood filler is petroleum-based. This type of filler is stronger and more durable than water-based filler, making it a good choice for outdoor projects and repairs that require more strength. However, it can be more difficult to work with and requires mineral spirits for cleanup.
We don’t recommend the use of color-changing wood fillers prior to painting with Real Milk Paint as they can sometimes revert back to their pink/purple color once the milk paint is applied over the top. Follow these steps to use wood filler properly on all your woodworking projects.
The best type of wood filler for your project will depend on several factors, including:
- The type of wood: Different woods may react differently to different types of filler.
- The location of the repair: Water-based filler is not suitable for outdoor use.
- The size and depth of the repair: Larger or deeper repairs may require a stronger filler.
- Your personal preference: Some people find water-based filler easier to work with, while others prefer the strength of petroleum-based filler.
Directions For How to Apply Wood Filler Effectively
- Preparation:
- For best adhesion, cracks, rough edges, or defects should be clean and dry. If you plan to color the wood filler, you have the option to add the stain or Real Milk Paint to raw wood filler prior to use.
- Testing Before Application: Always test the wood filler on a scrap piece of wood before applying it to your project. This ensures that the filler matches the wood’s color and texture, and you can see how it reacts with the final finish or wood stain.
- Application:
- Press wood filler firmly into defects by hand or with a putty knife.
- Fill deep holes (1/4″ or deeper) in two or more wood filler applications. Allow each layer to dry before the next application to have the repaired area perfectly level.
- Lower temperatures require longer drying periods.
- Avoid getting excess material on surfaces around the cracks or hole-filled areas. Use your putty knife to remove the excess and create a flush, seamless finish.
- Finishing:
- When dry, sand flush with surrounding wood surfaces.
- Surfaces may be milk painted, stained, varnished, lacquered, waxed, shellacked, or sealed with Finishing Oil when the wood filler is dry to achieve a more professional-looking finish.
- Close the container after each use, place the lidded surface down, and the artwork in the upright, readable position.
- Color Matching:
- Try staining a sample piece to check color match before staining your completed work. To help color match, add a small amount of stain to wood filler before using. A little care in staining or painting will reward your efforts. Use commercial solvents, such as acetone, to clean up.
- Using a Darker Wood Filler:
- In some cases, a darker wood filler can be advantageous, especially when working with dark woods or when you want to create a contrast. Darker fillers can highlight the natural grain of the wood, giving a more pronounced and decorative finish.
- Alternative Considerations:
- Sawdust and Glue: While some DIY enthusiasts might consider mixing fine sawdust from the same type of wood with wood glue to create a custom filler, it’s important to note that this mixture is not as effective as commercial wood fillers. The homemade mix often lacks the durability and uniform finish provided by professional products, and it may not adhere as well or sand down as smoothly.’
Tips for Success When Using Wood Filler
- Work quickly: Filler dries quickly, so it’s important to work quickly once you’ve applied it.
- Be conservative: It’s always better to apply too little filler and add more later than it is to apply too much and have to sand it back.
- Use a damp cloth: When working with filler, keep a damp cloth handy to clean your putty knife and remove any excess filler.
- Discard old filler: Don’t use old or contaminated filler, as it will not adhere properly.
Imperfections in wood surfaces like damaged edges and nail holes don’t have to ruin the look of your DIY projects or wood floors and furniture when you have Wood Filler by the Real Milk Paint Co. on your side. To find out more about how to use wood filler and how our all-natural paint products can help you achieve satisfaction with your finished products, fill out our contact form with specific questions.
Learn more about how to use this product in the “Video Tutorial” tab!
Download Real Wood Filler Safety Data Sheet (SDS).
Download Real Wood Filler Technical Data Sheet.
